As Halloween approaches, so does one of the most beloved traditions, pumpkin carving! It's a fun activity for all ages that allows you to unleash your creativity and create spooky or whimsical jack-o'-lanterns to adorn your home. If you're looking for perfect pumpkin carving ideas this Halloween, follow our step-by-step guide and get ready to impress your neighbors and guests.
Pumpkin Carving
Before you begin, make sure you have everything you need:
A fresh, medium-sized pumpkin
A carving kit with a serrated knife, a scoop, and various carving tools
A marker or pen
Templates (you can find free templates online or create your own)
A candle or LED light
Step 1: Choose Your Design
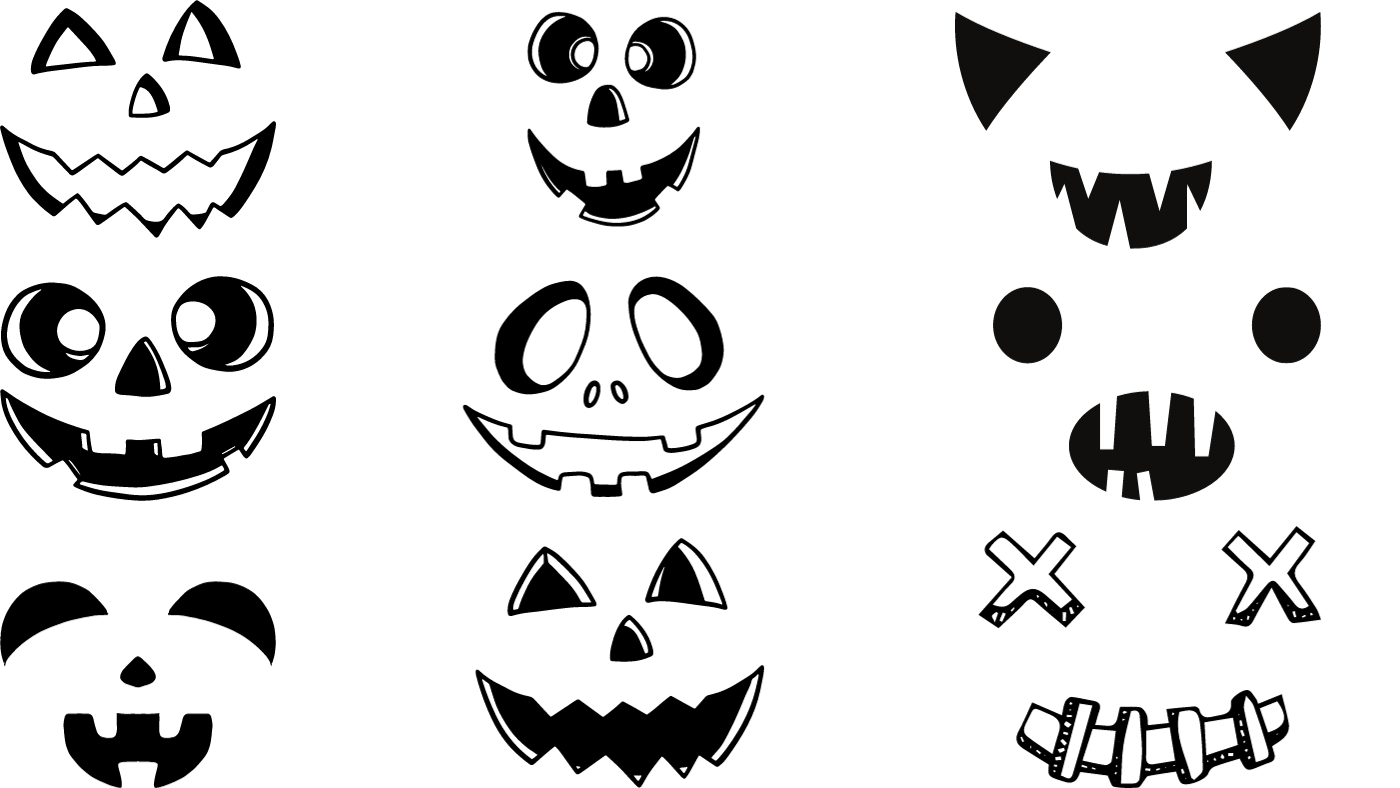
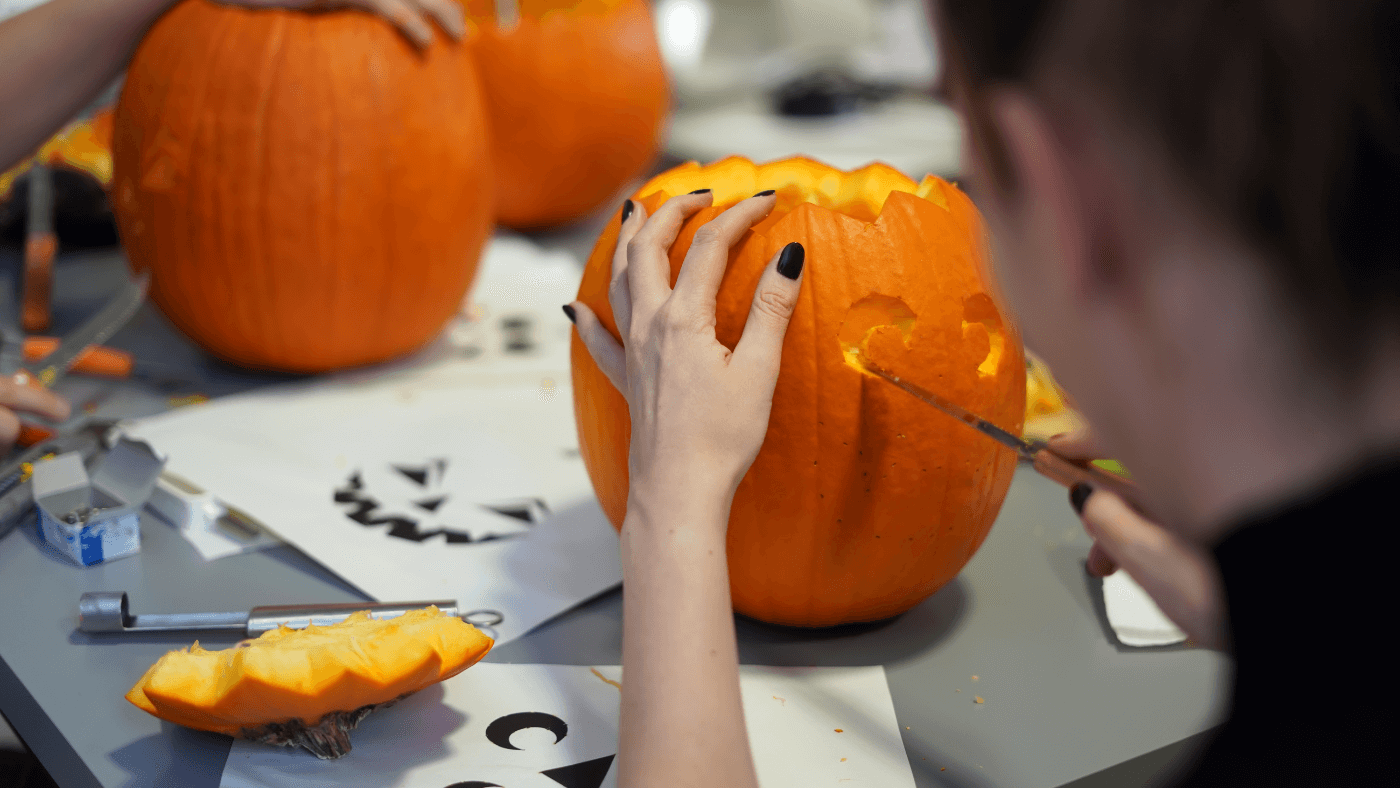
Decide on the design you want for your jack-o'-lantern. You can find a wide variety of easy pumpkin carving templates online, ranging from simple faces to intricate patterns. Alternatively, create your own design by sketching it on paper.
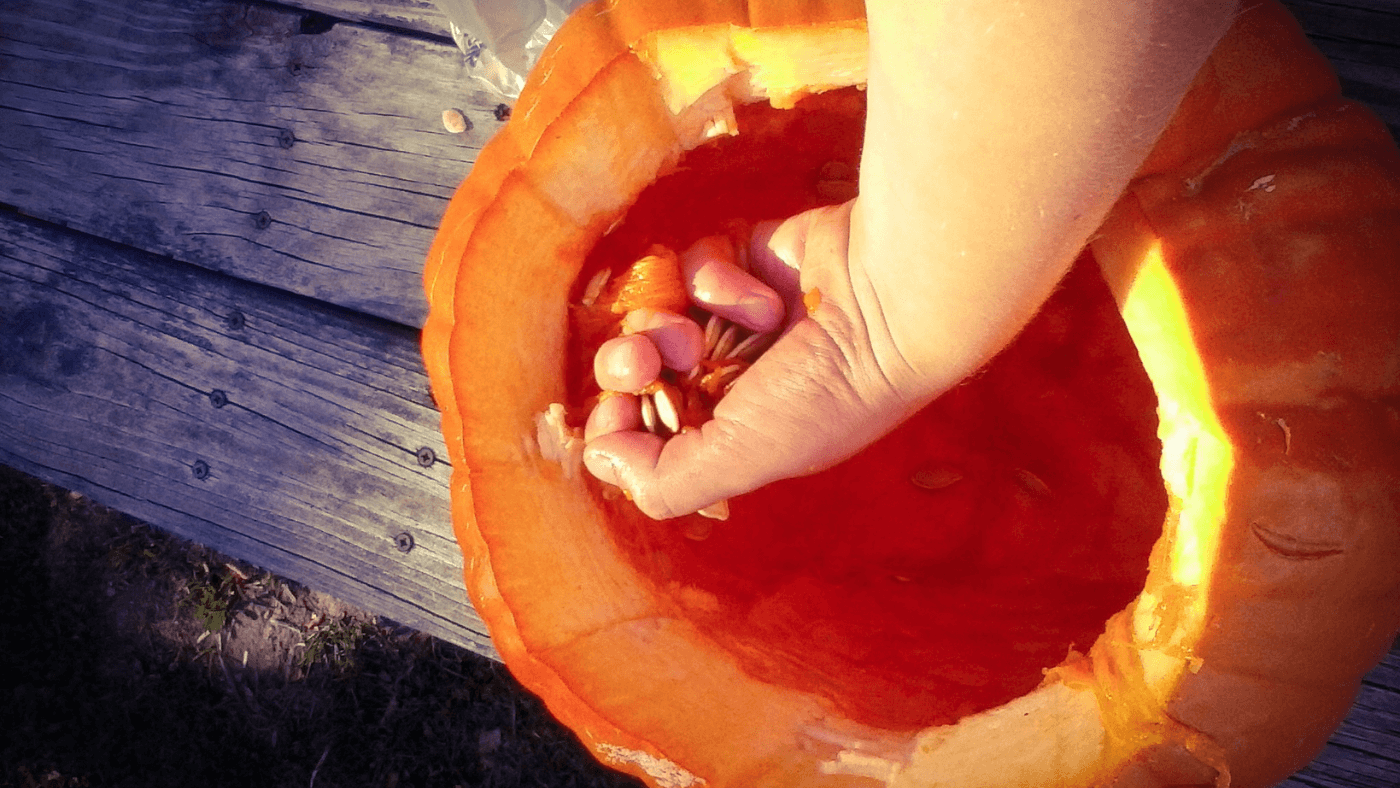
Step 2: Prep Your Pumpkin
Start by cutting a hole in the top of your pumpkin. Cut at an angle so that the lid doesn't fall inside. This will serve as the lid of your jack-o'-lantern. Use a scoop to remove the seeds and pulp from the inside of your pumpkin.
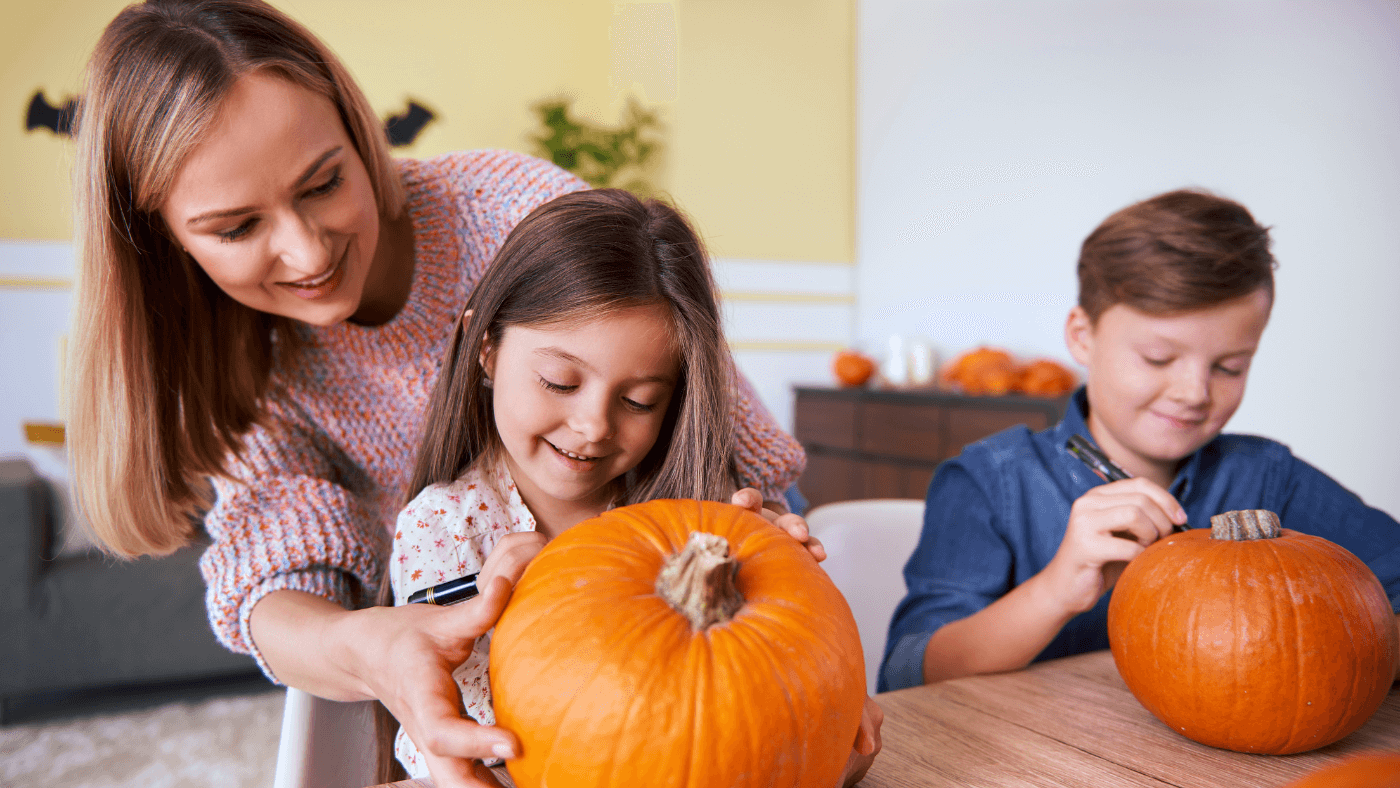
Step 3: Transfer Your Design
Place your chosen template onto the pumpkin's surface and secure it with tape. Use a marker or pen to trace the design directly onto the pumpkin's skin. If you're drawing your design freehand, go ahead and sketch it directly onto the pumpkin.
Step 4: Carve Carefully
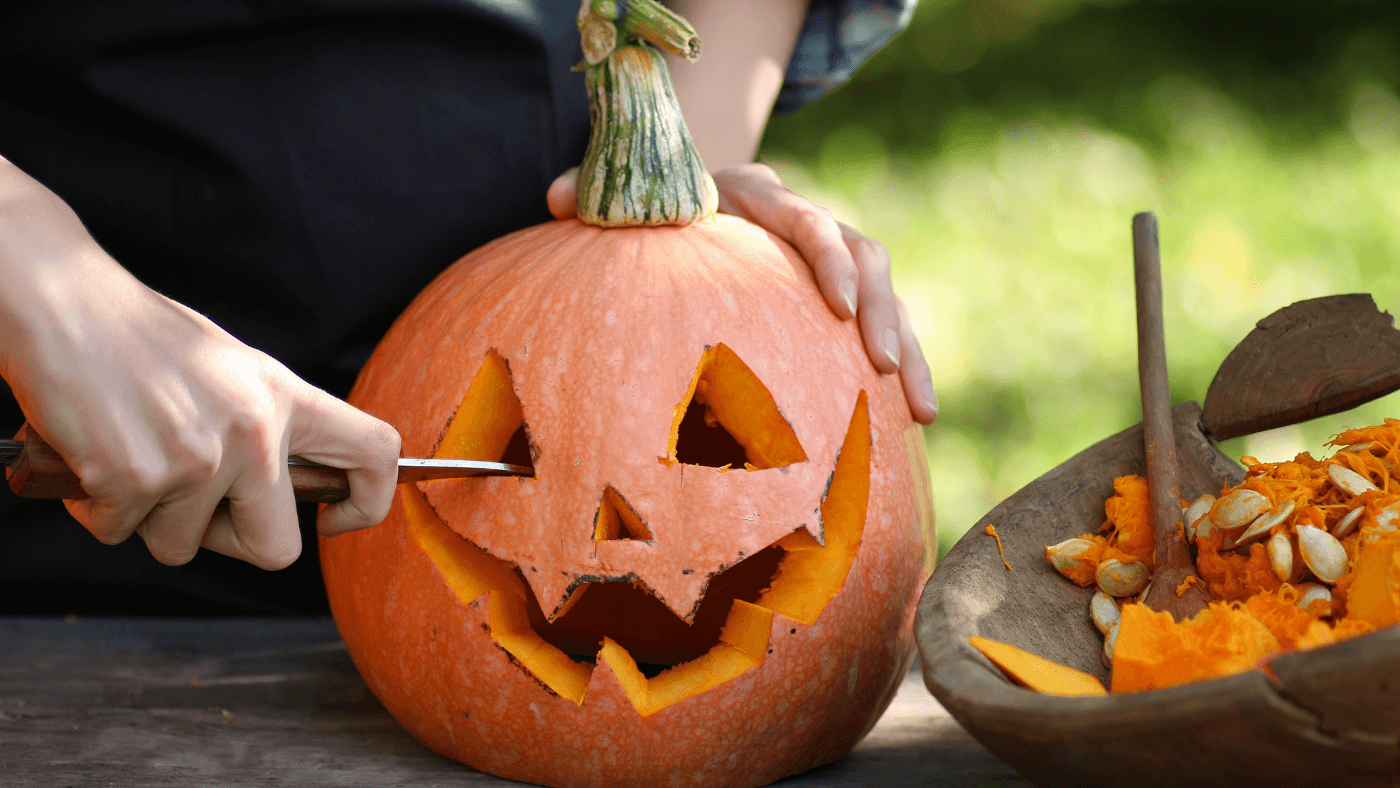
Using the serrated knife from your carving kit, carefully cut along the lines you've traced. Take your time and use a gentle sawing motion to ensure clean and smooth cuts. Be cautious, as pumpkin carving knives can be sharp.
Step 5: Add Detail
If your design includes intricate details, use the smaller carving tools to create them. These tools can help you make precise cuts for eyes, teeth, or other fine features.
Step 6: Light It Up
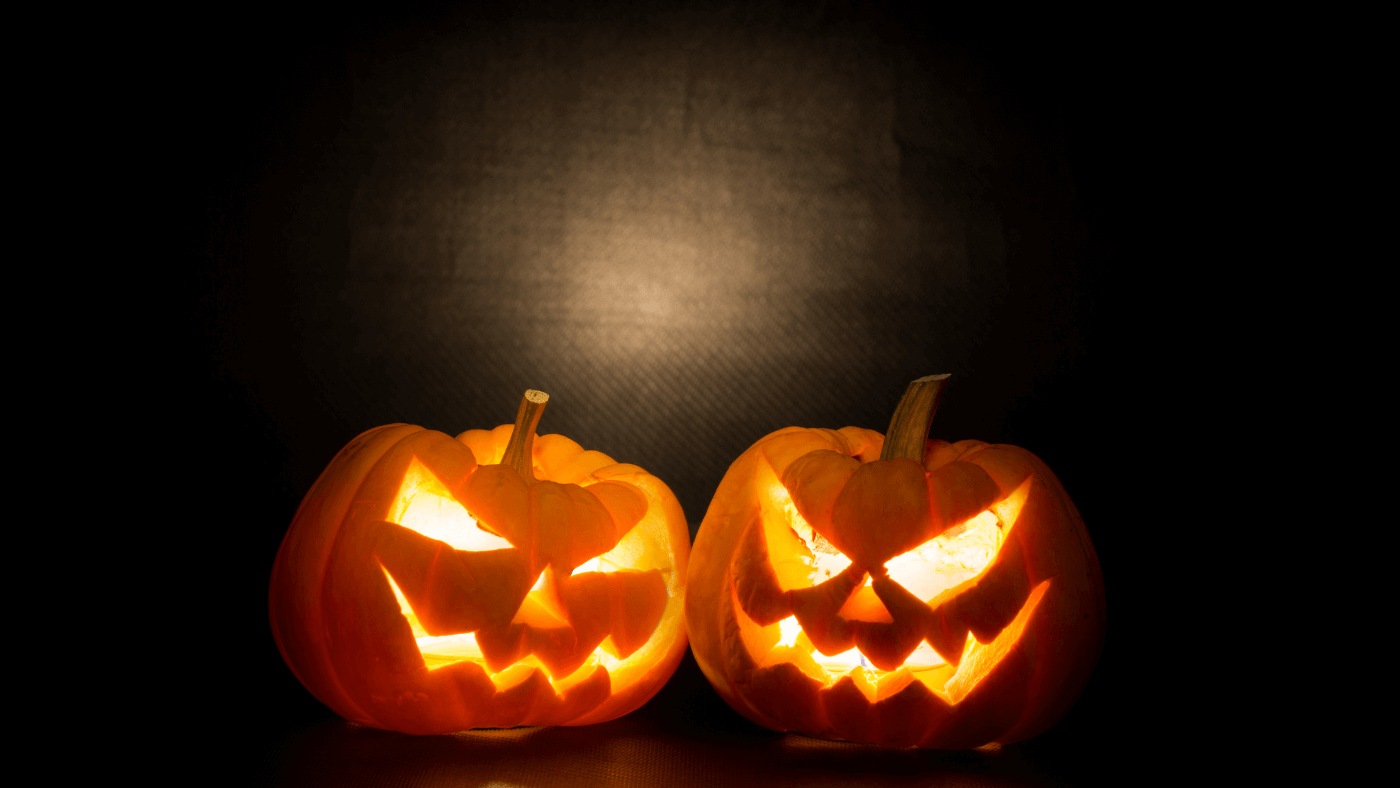
Place a candle or LED light inside the pumpkin to bring it to life. Make sure to secure the lid back on top. LED lights are safer and longer-lasting than candles, making them a great choice.
Step 7: Display Your Masterpiece
Find a prominent spot for your jack-o'-lantern to shine. Whether on your porch, in a window, or as part of your Halloween decor, your creation will add a festive touch to your home.

Tips for a Spooktacular Jack-o'-Lantern:
- Choose a pumpkin with a flat bottom to ensure stability.
- Consider using pumpkin carving stencils for more intricate designs.
- Rub petroleum jelly on the cut edges to help preserve the pumpkin.
- Experiment with different lighting effects, like colored LED lights.
Pumpkin carving is a cherished Halloween tradition that allows you to showcase your artistic skills and get into the spooky spirit of the season. Whether a beginner or an experienced carver, these pumpkin carving ideas will help you create the perfect jack-o'-lantern for a memorable Halloween display. Have a fantastic time carving and sharing your creations with family and friends this Halloween!
Want to know everything going on in natural health and beauty? Sign up for BVU's newsletter. You can also follow along on Instagram and Facebook.


